Tuesday, July 28, 2015

Disston Backsaw Restoration

So after restoring the Brace and Bit last week I got really hooked on restoring old tools. There is something about old tools... that is really amazing and bringing them back to life is so much fun. Ok so to make one thing clear, I like restoring these tools and using them, not just collecting them. I think that these tools where made to be used not just put up for display.

I also filmed the restoration process and the video is here:


So this week I won an Ebay auction and for $10 I got this:


A Henry Disston & Sons backsaw. There were three models numbers for the basic backsaw #4 (Dark blue back)  #5 (Brass Back) and #7 (Bright Steel Back), this one is a #7.
Doing some research mainly using the site www.disstonianinstitute.com I was able to figure out by the shape of the handle and the medallion that this saw was manufactured between 1896 and 1917.


As you can see the handle and medallions will need some cleaning, also the top horn must have broken off at some point because I can see a glue line and there are two little screws that somebody put in to add strength which will have to come out.


The blade and back look to be in pretty good shape, they will need just some cleaning, polishing and of course sharpening.


Oops I spoke too soon. Removing the handle revealed that the saw blade holes where the screws hold it where very badly damaged... Yikes, I was not expecting this... Gonna have to figure something out!


Ok so I was able to disassemble the saw... Step one complete. Now how the hell and I going to restore this thing... Well lets start with the stuff that will require some time to either soak or dry...


So I put the Brass Medallion and screws into a cup with Evapo-Rust to soak in for a while...


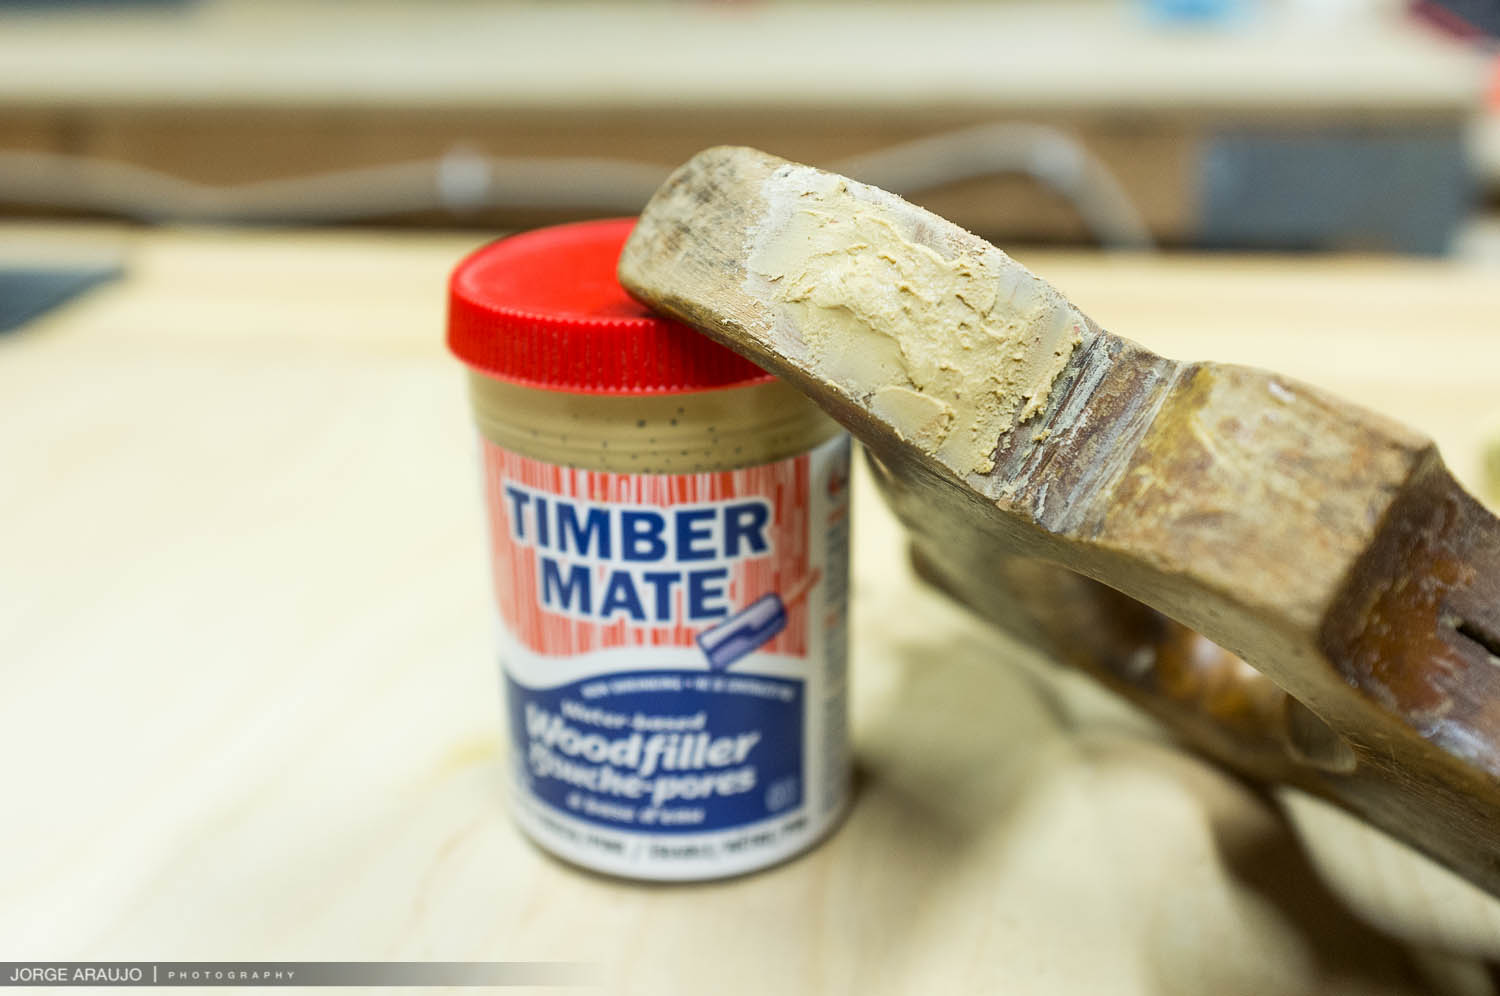
And I filled in the little screw holes on the top of the horn with some Timbermate... my favorite wood filler.


And after thinking about how I was going to deal with the holes in the blade I decided I would fill them in with JB Weld Steel Stick putty and move the blade around a bit and make new holes later. So I turned the lights off, closed the shop and called it a night.


Day 2: I got up pretty early...at least pretty early for a Sunday that is. I decided I would start with cleaning and polishing the Brass Medallions and screws. I used a combination of Evapo-Rust and T-9 Rust Free and a Grime cleaner with a brass brush by hand. Then once I got everything as clean as possible I took them to the grinder with a brass wire wheel, being careful to only do very light strokes to remove dirt and grime but not hurt the pieces. I then attached a buffing wheel to my grinder and using some jewelers rouge I buffed them all up.... Oooh shiny.


Next I focused on the back, spine of the saw. I cleaned it basically the same way as the brass screws, with rust remover, grime remover and a wire wheel on the grinder. Then I put the buffing wheel back on and made it shine.


Next to protect it from rust I added a coat of BALLISTOL, this oil is originally for cleaning guns, but works awesome on tools.


Next I started working on the handle, cleaning, sanding, sanding and more sanding. 


After I sanded the entire piece and got it where I like it, I added a coat of BLO (Boiled Linseed Oil), left it to dry and after a day or so I added a coat of Dark Walnut Watco Danish Oil, let it dry sanding and adding another coat and again and again... I did 4 coats total.


Back to Sunday, I spent most of the morning in the shop and everything is better "with a little help from your friends"


Gizmo and Gadget decided they wanted to help. Don't worry about the wood chips all over the boys, their favorite part of the shop with my compressed air to clean them off.... they love that thing...LOL!

Ok as you can probably tell by now I have been avoiding the saw blade because I wasn't sure how this JB weld would work, if it would even work and how hard it was going to be to sand it down flush to the plate.


Using my random orbit sander and an 100 grit sandpaper I went to work on the JB Weld, it was actually a lot easier than I thought... go figure.


Ok that looks good. I hope it holds, although since I am going to be making new holes it won't really matter, but hopefully it will add a little strength to the plate.


I cleaned, the blade with rust remover, wire wheel and buffed it the same as the back. Oooh Shiny.


At this point I put the blade back into the handle so I could mark where the new holes will go.


Then I put it in my vise and started sharpening the saw. I used Paul Sellers method which is pretty awesome I must say... Check out his sharpening video here www.youtube.com/watch?v=UA5DixEaaUo 

Ok I am ready to start the Assembly of the saw....weeee!


I started by adding the back onto the blade first. I put the blade on my vise and using a dead blow mallet I gently pounded it into place.


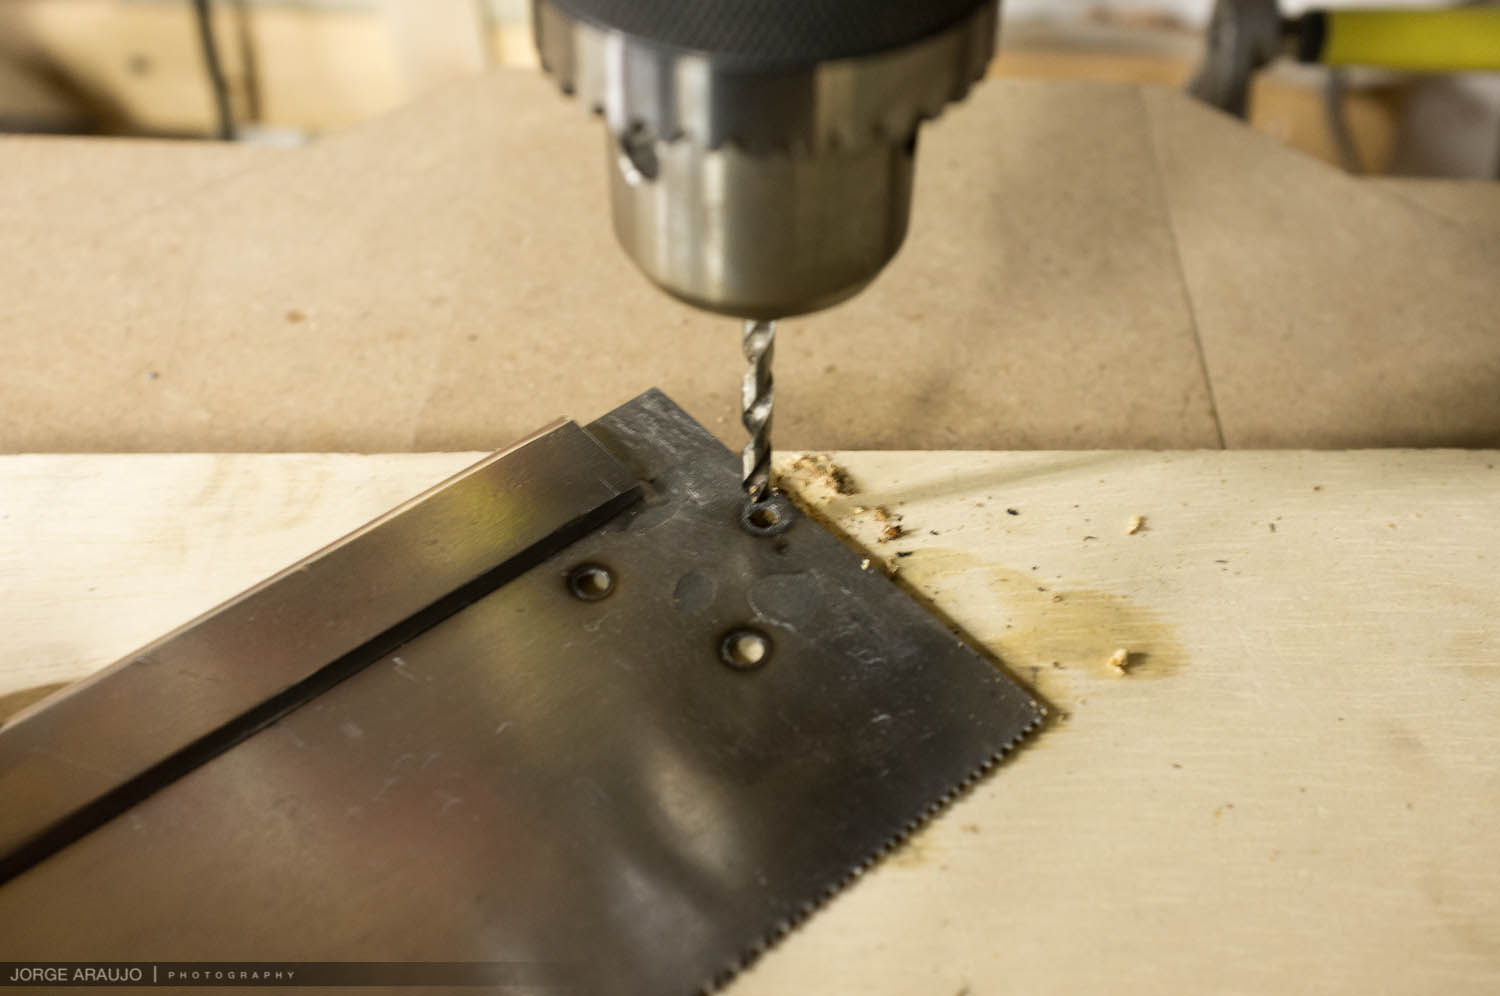
Next I took it to my drill press and started drilling the holes.... holy cow I had no idea how hard this steel was going to be.... the first drill bit I tried wasn't working so I switched to a titanium coated bit and that worked...

Then I put the handle back on and I was done... Looks good I think...

GET READY FOR SOME SEXY TOOL PORN!!!!


Well I hope you enjoyed it as much as I did. Thank you.

Saturday, July 18, 2015

$5 Brace and Bit Restoration

So on my way home on Friday I stopped at the American Way Thrift Store... Pretty rare occurrence for me but I am glad I did. I walked around the store not really looking for anything in particular but way in the back, actually in the area where they take the stuff and put price tags on it before bringing into the store. I found an old Brace and Bit, it was pretty rusty but checking the chuck and the ratchet part I realized it was in good shape, also the grip and head didn't wobble too much... "This is in good shape" I thought to myself... so I went to the counter to pay and since it didn't have a price the lady called the manager and he said... $5.99, to which I countered $4.99, he said ok. What does a $4.99 Brace and Bit from a thrift store look like?


Yikes!!!!! What did I get myself into... Let me just say I have never restored a Brace and Bit, hell I have never really ever used one. But I find restoring old stuff very fun, so I started by taking everything I could apart. I was able to take the wood head off. The head is held in place by 2 little screws and the wood has a threaded center so the brace threads into it. The I took the Chuck off and the little jaws come out easily. I couldn't figure out how to take apart the handle or the ratchet I think they are pressure pressed and don't come off.


Ok Let's get started... First I covered the wood handle with blue tape to not hurt the wood with the rust remover, I used a product called Boeshield Rust Free, It's part of my rust prevention and cleaning for my tools. I sprayed all the metal with it and wiped it down, took a couple of rags just to get the dirt and grime off, I set a wire brush onto my drill and put my drill into my vise and held it on with a clamp so I could start getting the rust off the metal. I started with the Chuck and Jaws.


At this point I found the first set of marking on the Brace. "STANLEY RULE & LEVEL CO. NEW BRITAIN, CONN. USA" Pretty cool start considering I had never heard Stanley Tools to be called Rule & Level Co.


Next here are the cleaned up Jaws...


Next I worked on the Auger bit and the Brace body. This took the most time since the U shape makes it awkward to get the wire brush on it and its round making it even harder. It was actually a lot of fun to watch the rust start coming off and revealing the metal... at this point I started to realize it didn't feel like tool steel, not sure why but just the feel was off, but what do I know I thought. So while removing the rust of the body I revealed the model number. One side says VICTOR and the other side says No 955 - 10IN and then upside down in larger stamping there is an SP12 (this looks off or put on later).


So after finding this all restoration halted and I ran into my office to do some research on this Brace. I was able to find a site that says it is from 1885....Wait what? 1885 yes its is over 130 years old...or at least the patent for it is... they made this brace until about 1915 so it could be anywhere in that range. That still makes it over 100 years old. The next thing I found out about this Brace is that it is Nickel plated, which makes so much sense why it didn't feel like tool steel, it actually feels like a nickel coin. After the wire brush I used a polishing wheel and gave it a pass on all the metal parts just to shine it up a bit.


Now the easy part, sanding all the wood parts which I found out from the web that they are Fruitwood/Hardwood, pretty descriptive if you ask me... LOL! After sanding I put a coat of Boiled Linseed Oil to darken the wood and I will be putting a coat of shellac to protect the wood once the BLO dries. When I put the oil on the wood it revealed a weird "4" shape that was put onto the head with a series of little holes, not sure what craftsman in the past did that or why but its interesting.


Next I went back to my computer and watched a few videos on how to sharpen the Auger bit and started sharpening the bit, its pretty easy, you just have to know which parts to file sharp and which ones not to touch because you don't want to change the size of it.


Then I assembled the Brace and Bit added 3-in-1 oil to the mechanical parts (every household should have a small bottle of 3-in-1, stuff if awesome for everything), then I added a coat of Boeshield T-9 Corrosion protection. I wiped everything clean, tested it and FINITO! Only thing left was to photograph it. Get ready for some Sexy Tool Porn!